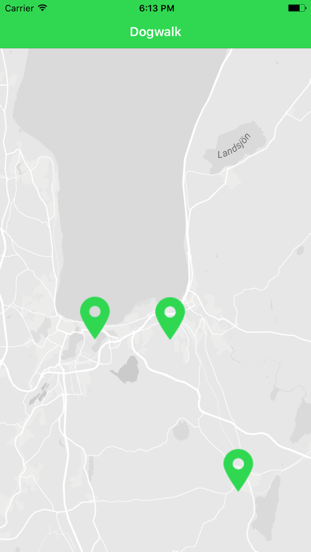
This summer I got a Bernese mountain dog. About now both him and me got tired and bored of the places we went for walks. So I got online and found new spots. This app collects these spots on a map and hopefully you can find some new places to go from it.
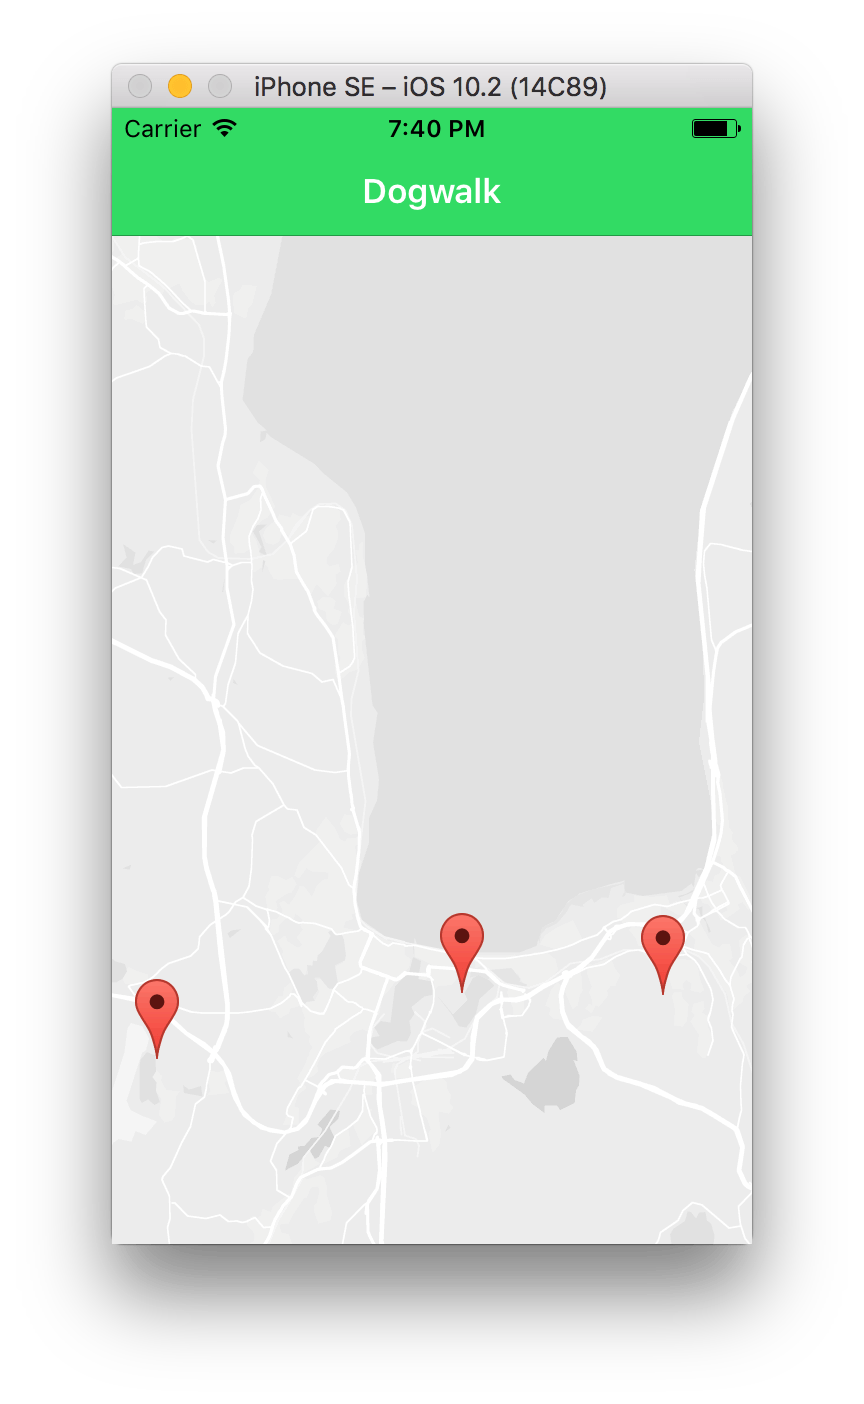
Dogwalk screenshot
Minimum viable product
The version released is a minimum viable product of an app that helps dog owners find new places to walk their dog. This means it is as simple as it can be at the moment. Right now there are 5 spots on the map and all are located in and around Jönköping.
Upcoming features
Before I’ll start marketing the app i want to add more features. Every time I’ve got a new feature added to the app it will be released. Big or small. The list below are things I think about adding to the app:
More spots
Rating system
User added spots
Is the spot an illuminated track
Are there more than one track to walk at the spot and how long are they?
is it a fenced area?
Sort by type of spot
Switch from Ionic to React native
By spring/summer it might be an app worth marketing to new and old dog owners.
Built with Ionic
Dogwalk is built with Ionic which is a crossplatform framework. This makes it possible for me to write one codebase for the two platforms i target which is Android and iOS.
I want some of that internet money
In my last app project I tried ads as an income source. I wasn’t really happy about myself creating an app with such an abomination in it :) This time I added a price tag to the app instead. So no ads this time.
After switching from Wordpress to Jekyll I got a lot faster load times. But I also got to type more to get a post published. This can be eased by using snippets in the Atom editor in which i write my posts.
A snippet is a small region of code that you use often. In Atom and many other editors these can be inserted by typing a few words and then let the editor fill in the rest by pushing tab.
Jekyll example
In Jekyll you start all posts with defining a few variables in front matter. This posts front matter look like this:
---layout:posttitle:The snippet to create all snippets in Atom editorcategories:-Miscellaneousimage:source:/wp-content/uploads/2017/01/the-snippet-to-create-all-snippets-in-atom-editor.pngwidth:1200height:627excerpt:You can use a snippet to create snippets in Atom Editor. It's useful for long expressions you use often.---
Instead of typing that every time I create a post I can create a snippet that automatically finishes all that text after i type --- and push tab.
Creating a snippet in Atom
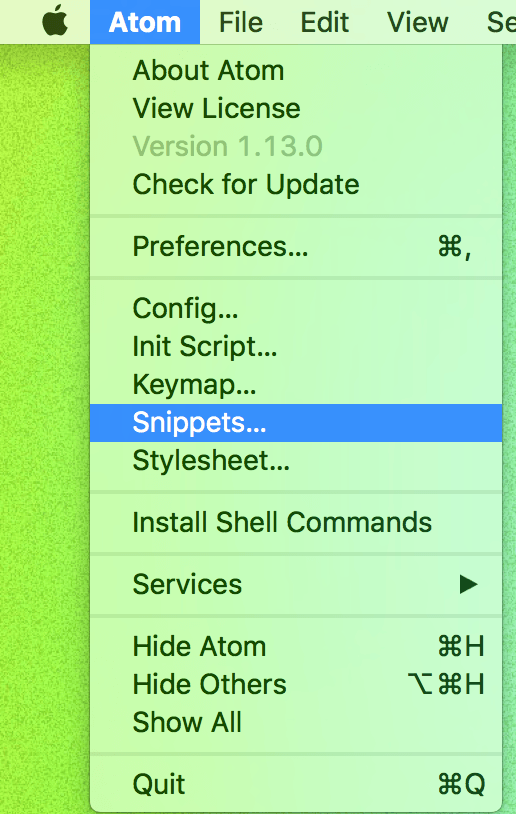
Open up the snippets.cson file by clicking Atom->Snippets... in the menu.
Atom snippets menu
Now type snip and push tab to get a scaffold for creating your own snippet. When first pushing tab this is what we’ll get:
instead of always adding a javascript snippet i can add a tab stop to this snippet so that i always get to type what language i am highlighting. That snippet would look like this:
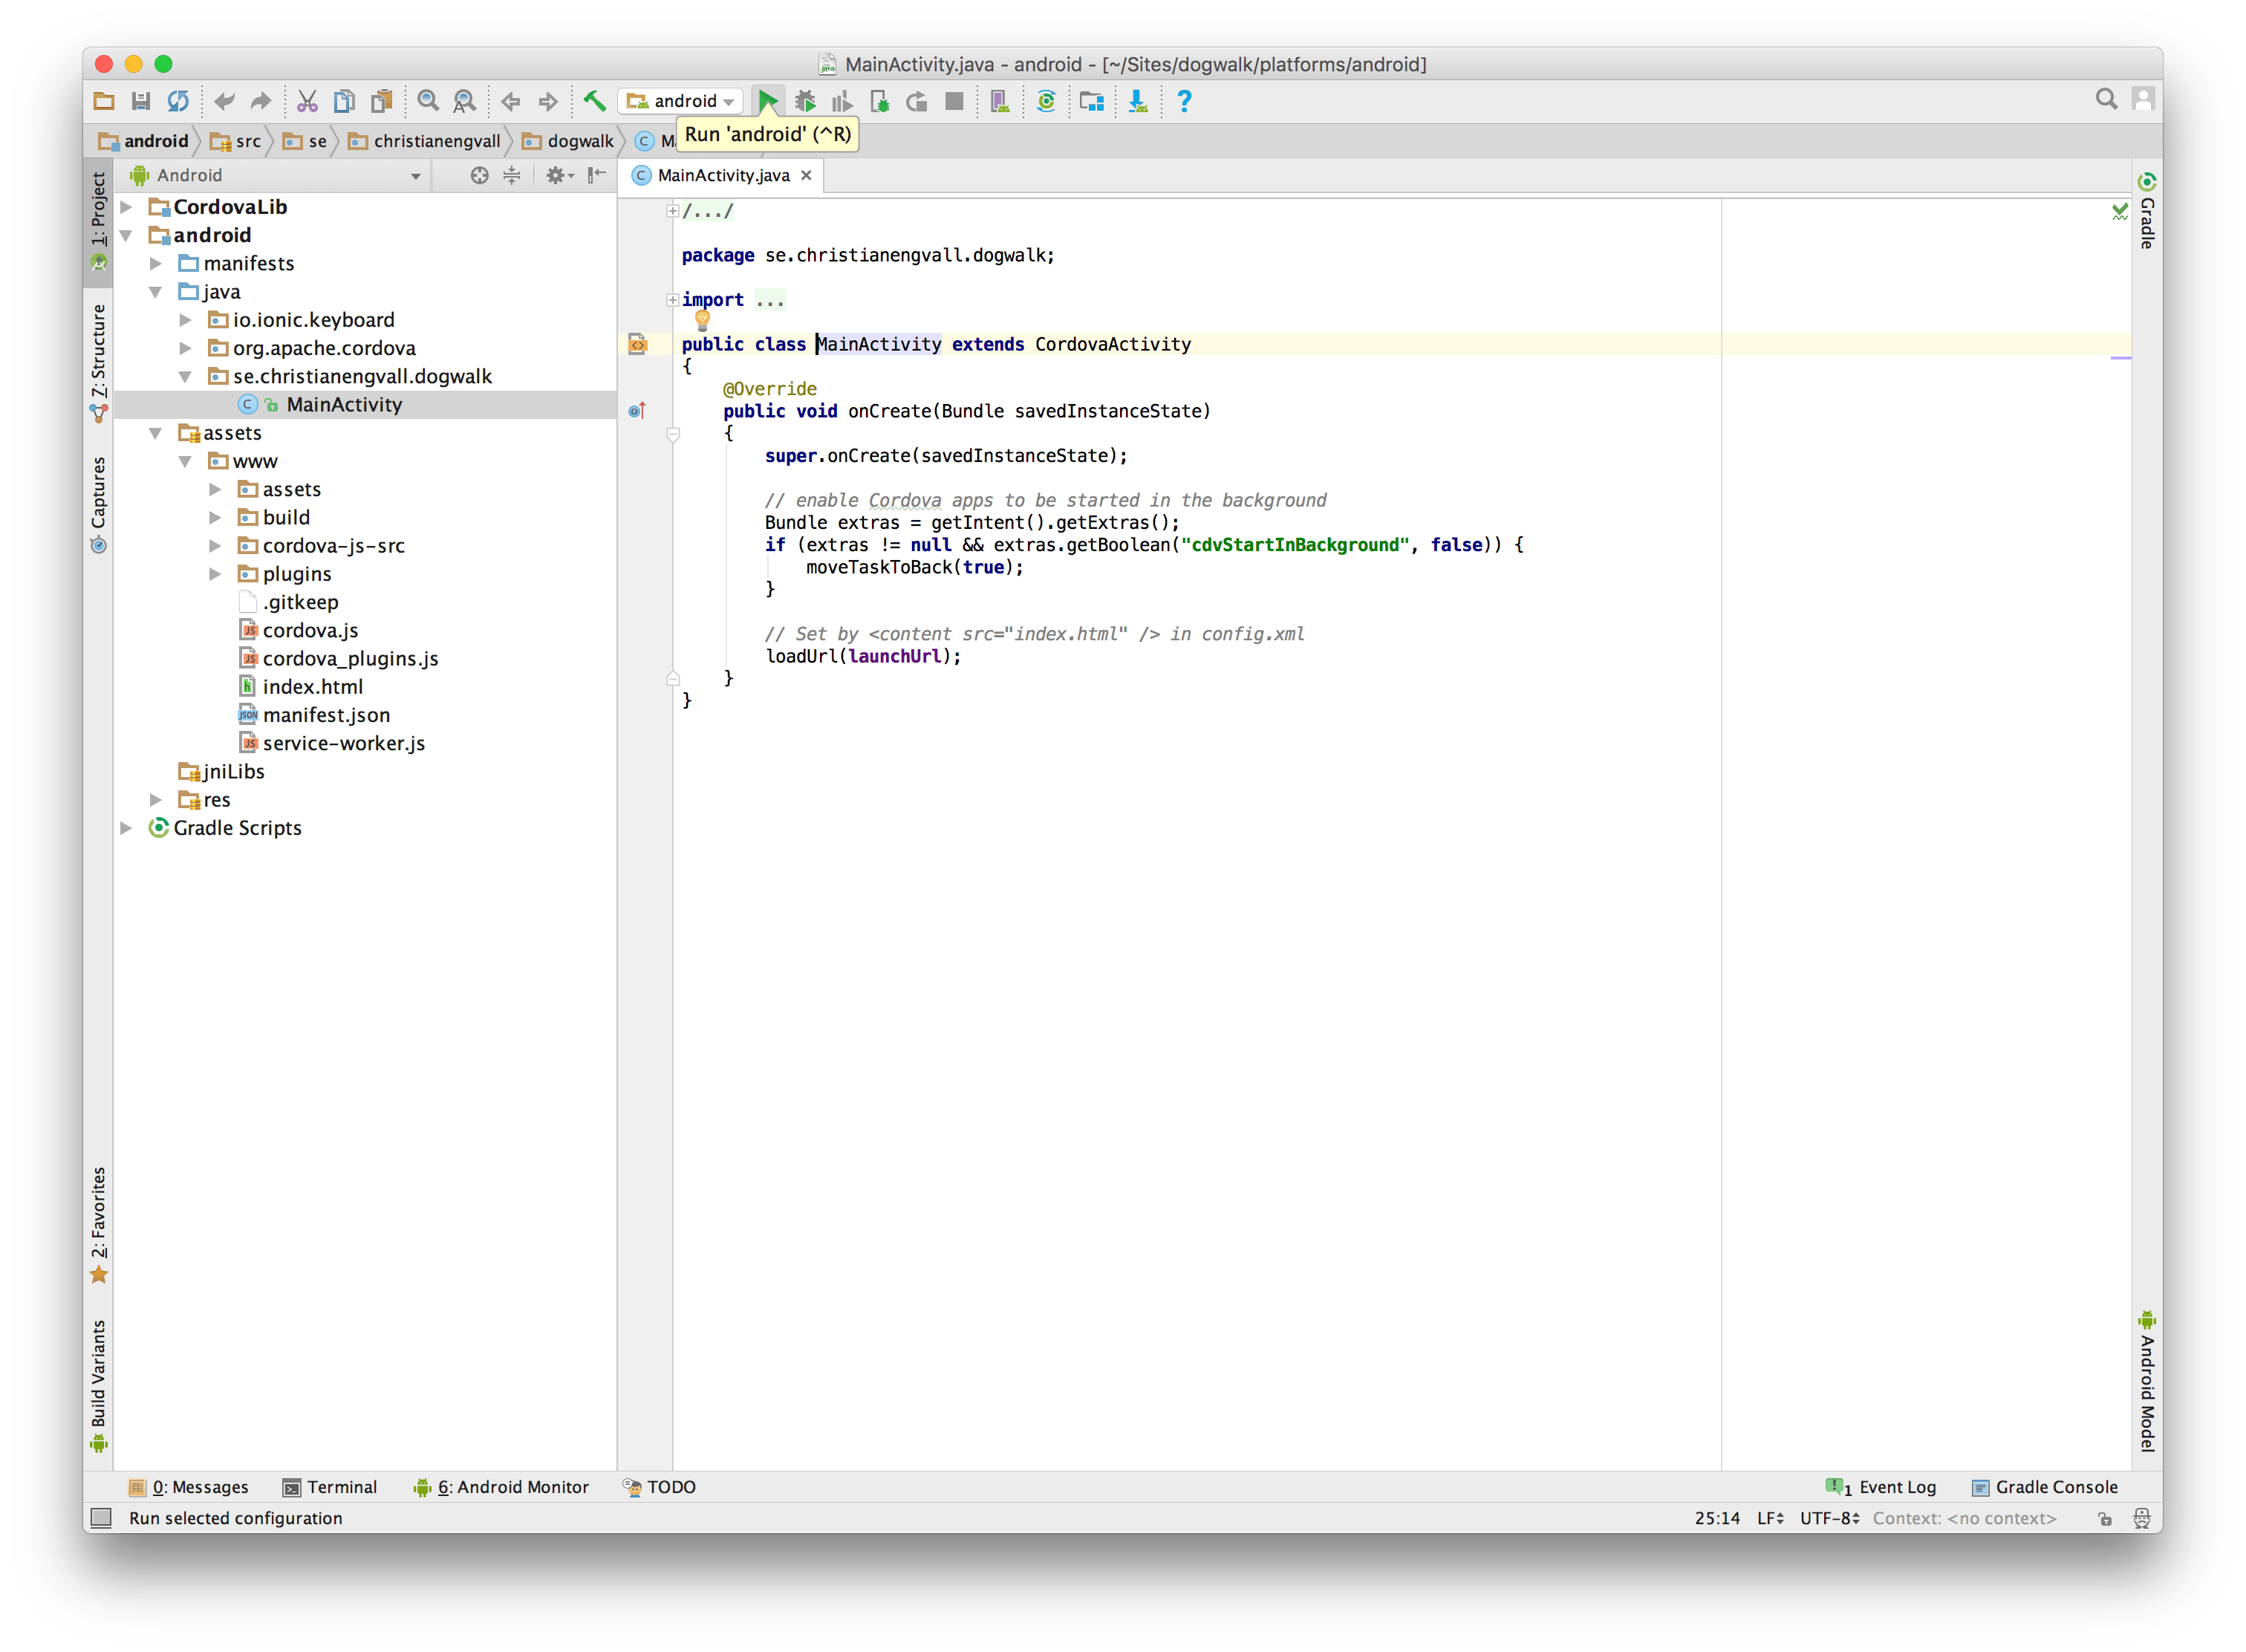
When I used the Ionic CLI to create the Dogwalk project it came with an iOS project. Now it’s time to add the Android platform.
These are the steps i took to install the Android SDK and add the Android Platform. I ran into errors, maybe you’ll get them as well, so even though this was not a smooth install maybe it helps!
Ionic add platform Android
To add the android platform to your app you run the following command in a terminal:
ionic platform add android
Since I already had the Android SDK installed from when building another project I figured I could run it directly. But i got this error:
Error: Failed to find 'ANDROID_HOME' environment variable. Try setting setting it manually.
Failed to find 'android'command in your 'PATH'. Try update your 'PATH' to include path to valid SDK directory.
The solution according to stack overflow was to do this:
After installing Android Studio I got a few questions to update and install SDK-components I didn’t have. I accepted them all.
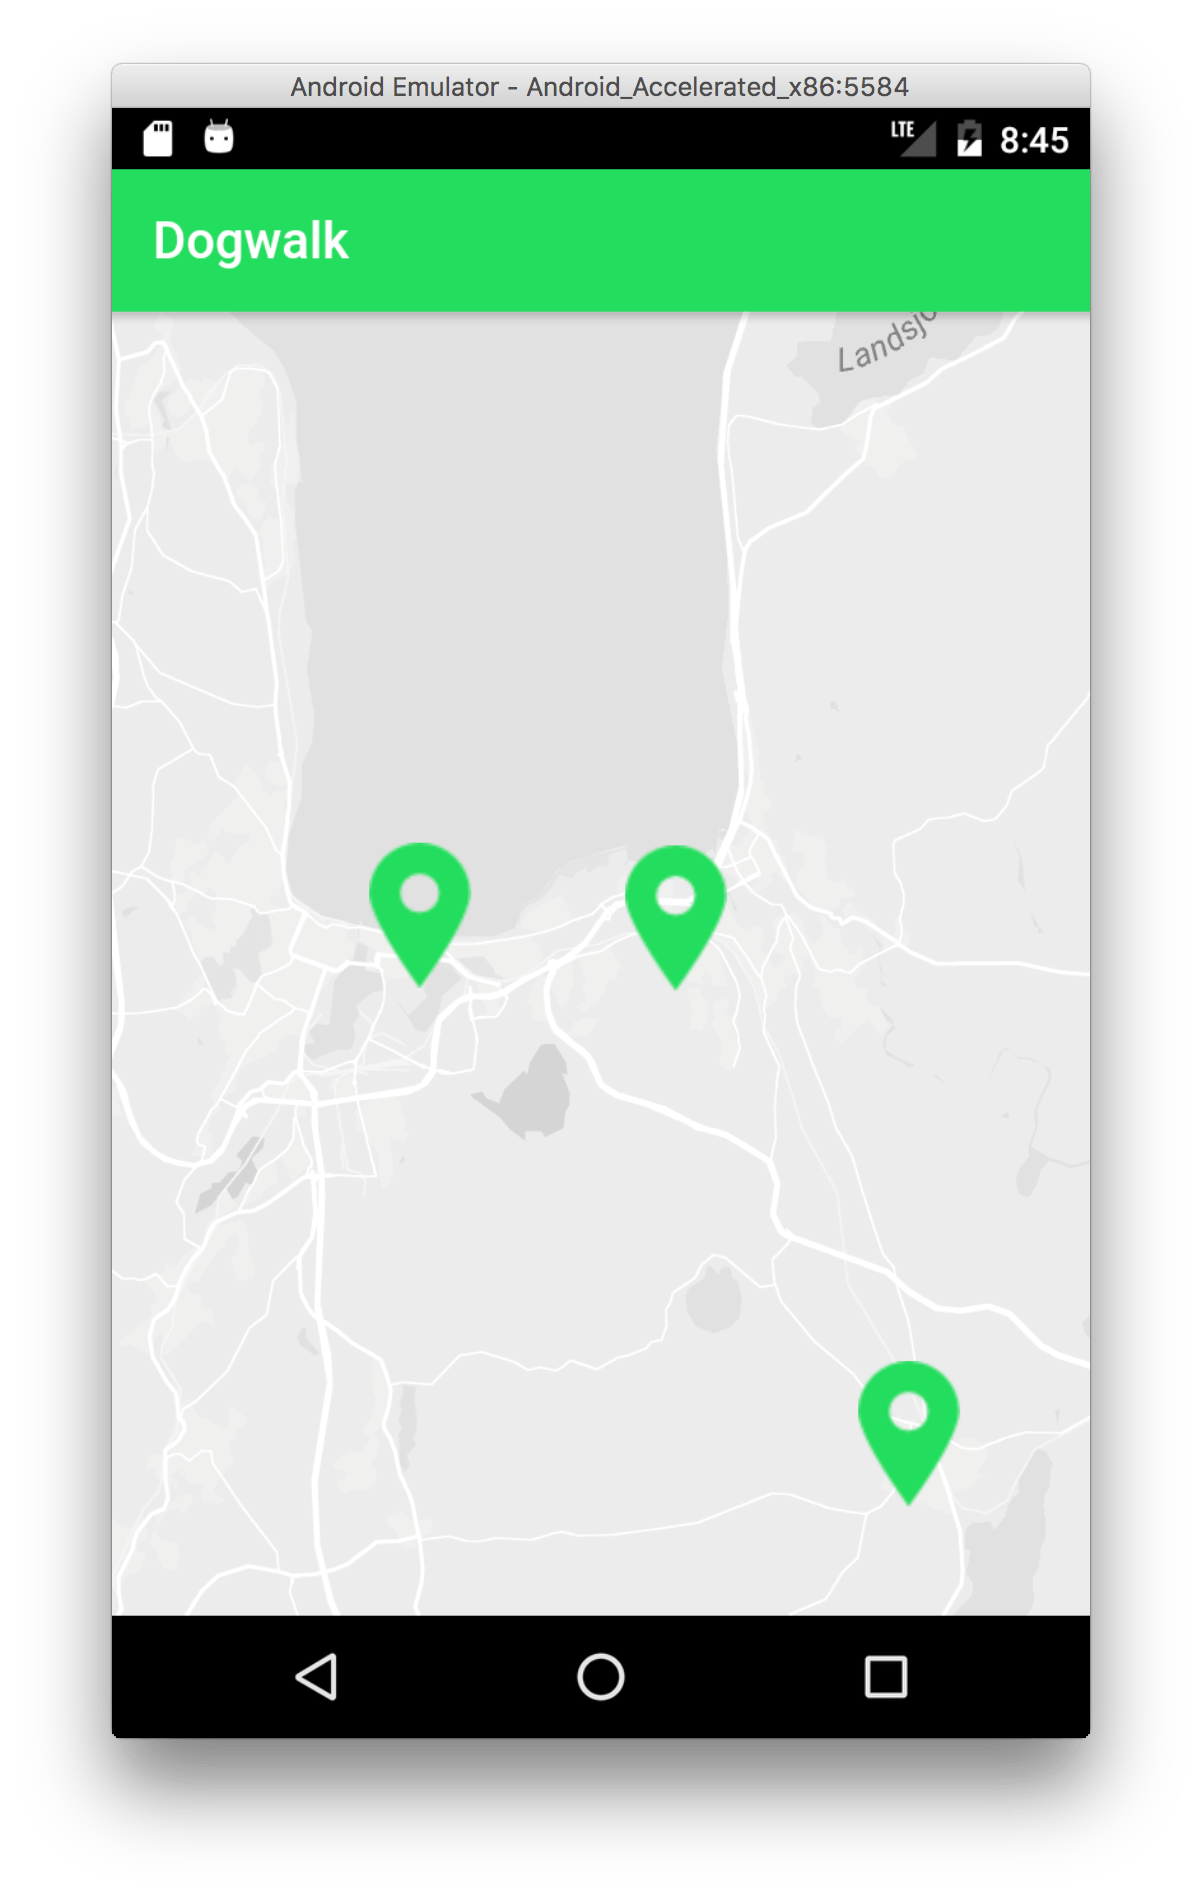
After that i opened the platforms/android project in android studio and tried to run it in a Simulator. And in this step Android Studio wanted to install a simulator. So it did install the Android_Accelerated_X86. If you choose the other one it will be slow and not be able to start the ionic app. At least I got the error message that it couldnt find the folder android_asset.
Android Studio run app
But the simulator couldn’t open the app. At this point I figured I should delete the ionic android project and add it again. So close Android studio.
Delete an Ionic platform
To remove a platform run this command in a terminal:
ionic platform rm android
The next step was to make sure i’ve got the latest Ionic and Cordova version.
Open the file resources/splash.png and edit it as you wish. The dimensions are 2208x2208 pixels. The icon is called.. you guessed it.. icon.png and is located in the same folder. The dimensions for the icon is 1024x1024 pixels.
I’m aiming to release Dogwalk quickly, and then update the app functions and look after the app is already published. So I put little effort into the design of the icon and splash screen. They turned out like this:
Ionic 2 dogwalk icon
Ionic 2 dogwalk splash screen
Now when the following command is executed Ionic will take care of generating the correct dimensions for the splash screen and icon.
ionic resources
If you run that command without having created a splash screen and icon yourself Ionic will use the default ones.
This tutorial covers how to add markers on a Google map in an Ionic 2 app. We’ll continue where we left of the last with a Google map that is displayed in our app. If you haven’t already got that take a look at that tutorial first.
1. Markers JSON
To keep it simple we’ll store the marker information in a json file. Add a file called markers.json in the folder src/assets/data/ (create the folder data since it is not created by default).
The data we need at this point for a marker is, latitude, longitude and name. If you need help to find the latitude and longitude for your markers you can use maapcoordinates.net. My markers.json looks like this:
To load our .JSON file we’ll be using angular http and something called an Observable which we’ll map with rxjs/add/operator/map. You can read more about these classes in the Http class documentation of Angular 2
Start by importing these into src/pages/home/home.ts