This post describes how to use IMCE with CKEditor. If you haven’t installed CKEditor yet you can follow these steps.
1. Download and install
Download the IMCE module install it and activate it.
2. Enable filebrowser
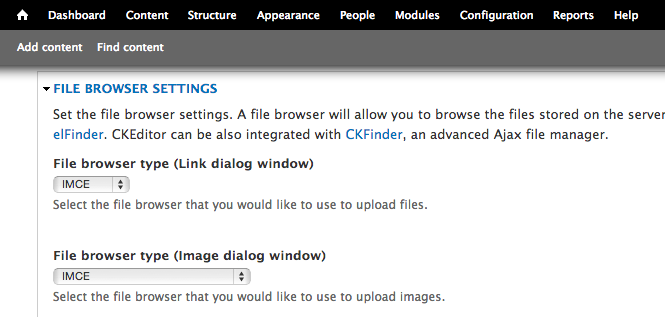
Go to /admin/config/content/ckeditor/edit/Full and scroll down to FILE BROWSER SETTINGS and choose IMCE as the file browser type.
File browser settings
3. Create content
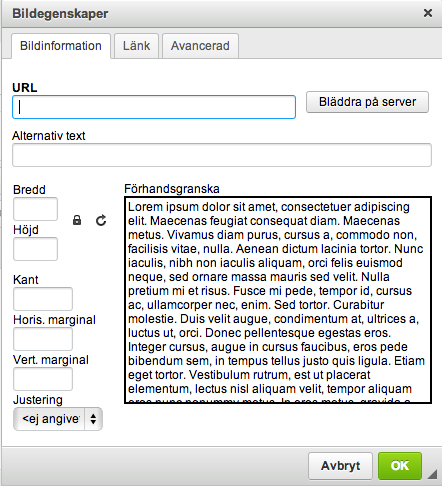
Now go to /admin/content and create a new node. Make sure text format is set to Full HTML then click on the image icon and the button on the right to URL. My button says Bläddra på server since my installation uses swedish.
Image properties
4. Add image
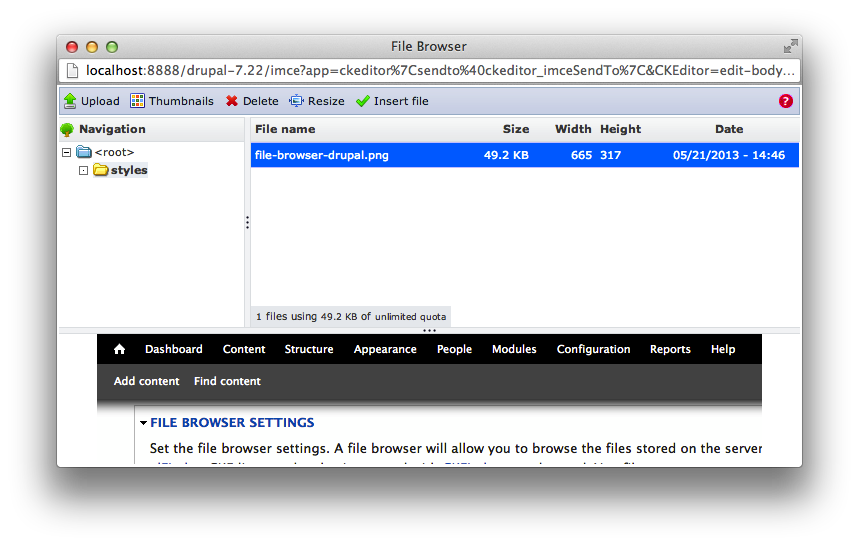
Now the IMCE-window will appear and you can upload, delete, resize and insert file/image to your content.
In my drupal developer environment i had a problem which made it impossible to recreate features. When clicking the recreate tab all i would see was a blank page.
First it’s hard to troubleshoot without an error message. So adding this code to index.php will display the error.
Now when reloading I could see the following error message:
Fatal error: Allowed memory size of 134217728 bytes exhausted (tried to allocate 115619 bytes) in /var/www/drupal/public/includes/common.inc on line 5849
Memory leak
This probably is happening because of a memoryleak somewhere. But since this only occurs in my dev environment and at this point a quick fix is needed, so i decided to override the maximum amount of memory that scripts can use with this line in index.php:
ini_set(‘memory_limit’, ‘-1’);
So the index.php now looks like this:
<?phperror_reporting(E_ALL);ini_set('display_errors',TRUE);ini_set('display_startup_errors',TRUE);ini_set('memory_limit','-1');/**
* @file
* The PHP page that serves all page requests on a Drupal installation.
*
* The routines here dispatch control to the appropriate handler, which then
* prints the appropriate page.
*
* All Drupal code is released under the GNU General Public License.
* See COPYRIGHT.txt and LICENSE.txt.
*//**
* Root directory of Drupal installation.
*/define('DRUPAL_ROOT',getcwd());require_onceDRUPAL_ROOT.'/includes/bootstrap.inc';drupal_bootstrap(DRUPAL_BOOTSTRAP_FULL);menu_execute_active_handler();
I would not recommend doing this on a production server though
The first line ignores all files and folders in files. The second line excludes the private folder. The third line ignores all files and folder in private. And finally the last line excludes the newspilot folder.
Download and install the ckeditor module. Do not enable it yet.
2. Download the standalone editor
Now we need to add the latest ckeditor files to the module. Download it and extract the contents of the zip file into the folder ckeditor in the newly installed module directory. (My module was installed in sites/all/modules/ckeditor)
3. Enable module
Now go to Administration panel -> Modules -> User Interface and enable CKEditor.
User interface
4. Permissions
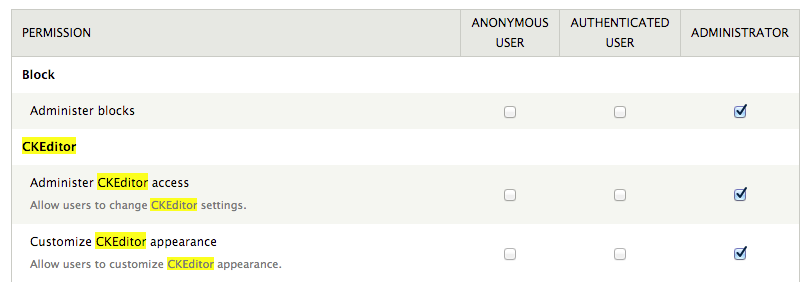
Grant permission for the users that need to use the editor at people -> permissions.
Permissions
5. Create content
When creating content for the standard basic page the text area is now a ckeditor instead.
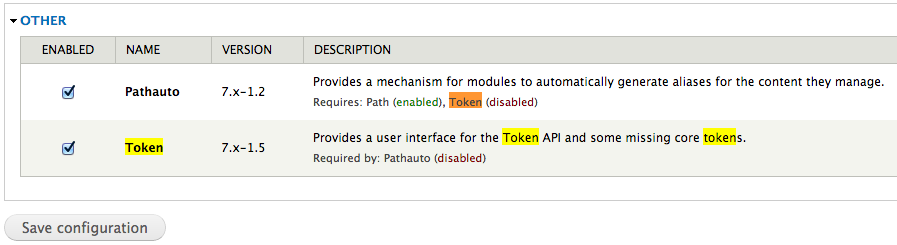
To get seo-friendly urls in drupal 7 we need three modules.The first one we need is pathauto which takes care of the job to create the urls, but that doesn’t really get us all the way, we also need transliteration to get rid of, for example, åäö in the urls created. The last one we need is token, which is a dependency for pathatuto. This quick tutorial requires that you know how to install a drupal module.
Active these modules by check the boxes and push save configuration.
Activate modules
3. Update pathauto settings
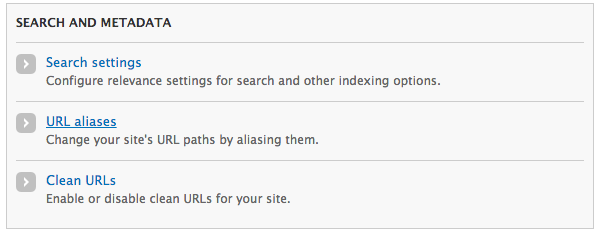
Now go to Configuration -> search and metadata -> URL-aliases (/admin/config/search/path)
Url
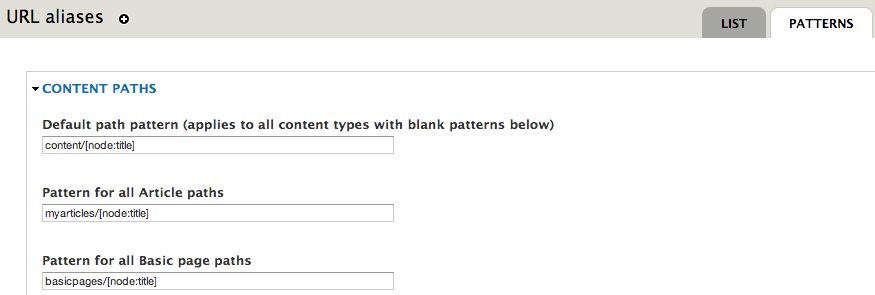
Now click on the patterns tab in the top right corner to. This is where you can set at default url-pattern for all your content types or define a pattern for each type. The image below shows an example:
Patterns
the pattern for all Article paths is myarticles/[node:title] and the pattern for Basic page is basicpages/[node:title]. A bit further down that page you can also set the pattern for taxonomy and users. When you are happy with the patterns just hit Save Configuration.
Now if you create new content(Content-> add-content -> pagetype) your pages will have seo-friendly urls.
4. Transliteration
Transliteration helps out with chars you don’t want in a URL, for example åäö. Download the module, install it and activate it.
Go to Configuration -> search and metadata -> url aliases -> settings
Transliteration
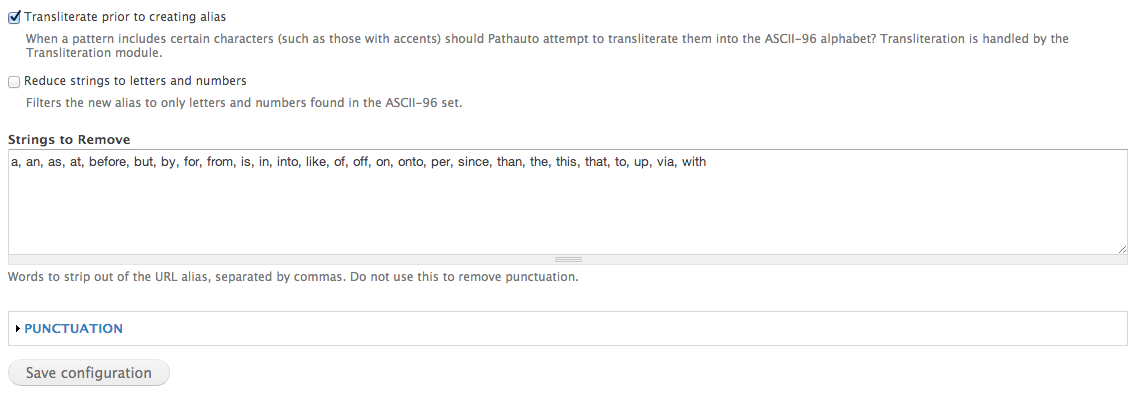
Scroll down to Transliterate prior to creating alias _and activate it, then click _Save configuration.
Transliterate prior to creating alias
Now when creating new content the urls will contain valid characters.
5. Updating already added content
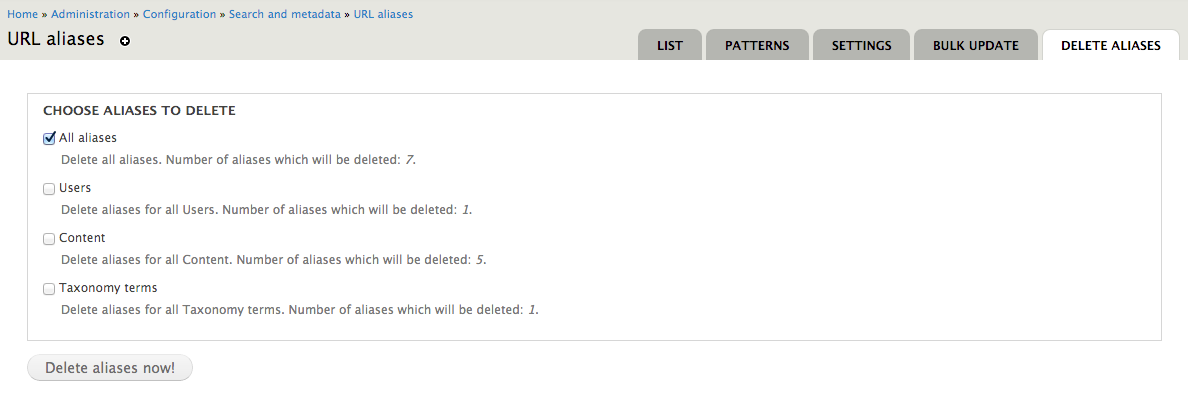
To update urls for already existing content just go to Configuration -_> search and metadata -_> url aliases -_>Delete aliases Check the all aliases checkbox and click _Delete aliases now!
Url aliases
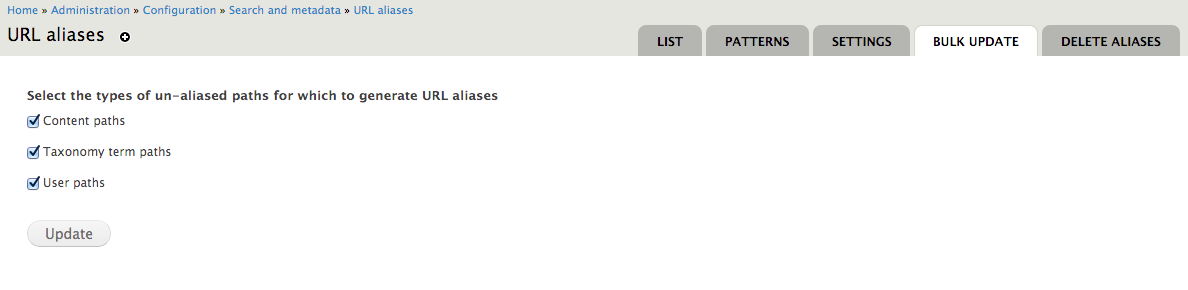
Now click on the BULK UPDATE tab and check all checkboxes you want to create an alias for and click Update